Tuesday, 17 May 2016

BEIL0014_ assignment4_ interdisciplinary skin_finished skin


Reflection:

Compared to my previous camera front aluminium skin, it also based on the symmetry and regular dome shape. I decided to challenge myself to make full cover of hard hat while Jason made half of it. However, the full cover of the hard hat template is much hard than the first skin.

The main difficulty of this aluminium skin is the work load of shaping quite large amount of surface. Because of that the control of the shape need to be more accurate when I shrunk and stretched the aluminium. The details of surface - sometimes open up slightly, sometimes close down steeply- therefore require precise observation, analysis and emphasis.

In the process of the second skin making, I spent quite a long time in shrinking and closing up my dome-shape skin. At the beginning, I was disappointed to find that my skin just closed up for a small loop after I shrunk the whole surface for almost one hour. But slowly I got used to this small change I made each time. Eventually, in sum of those small changes I got the skin that adhere closely to my laser cut object.

A significant mistake I made was that I used the shrinker for several times at the beginning to rush up the curved surface. The skin turned out to be really bad since it results in cracks at the edge. I should have used more hammering when shaped the dome surface. I end up trimmed the loop of cracked skin.

I am glad to have the second chance to start all over again to make another interdisciplinary skin in different shape, and meanwhile improve my metal shaping skills.

BEIL0014_ assignment4_ interdisciplinary skin_ metal shaping process


Process 1: Rough skin shaping


mark and cut a circle aluminium sheet


I use the technique Russell told me to make the general bowl shape of my skin. 
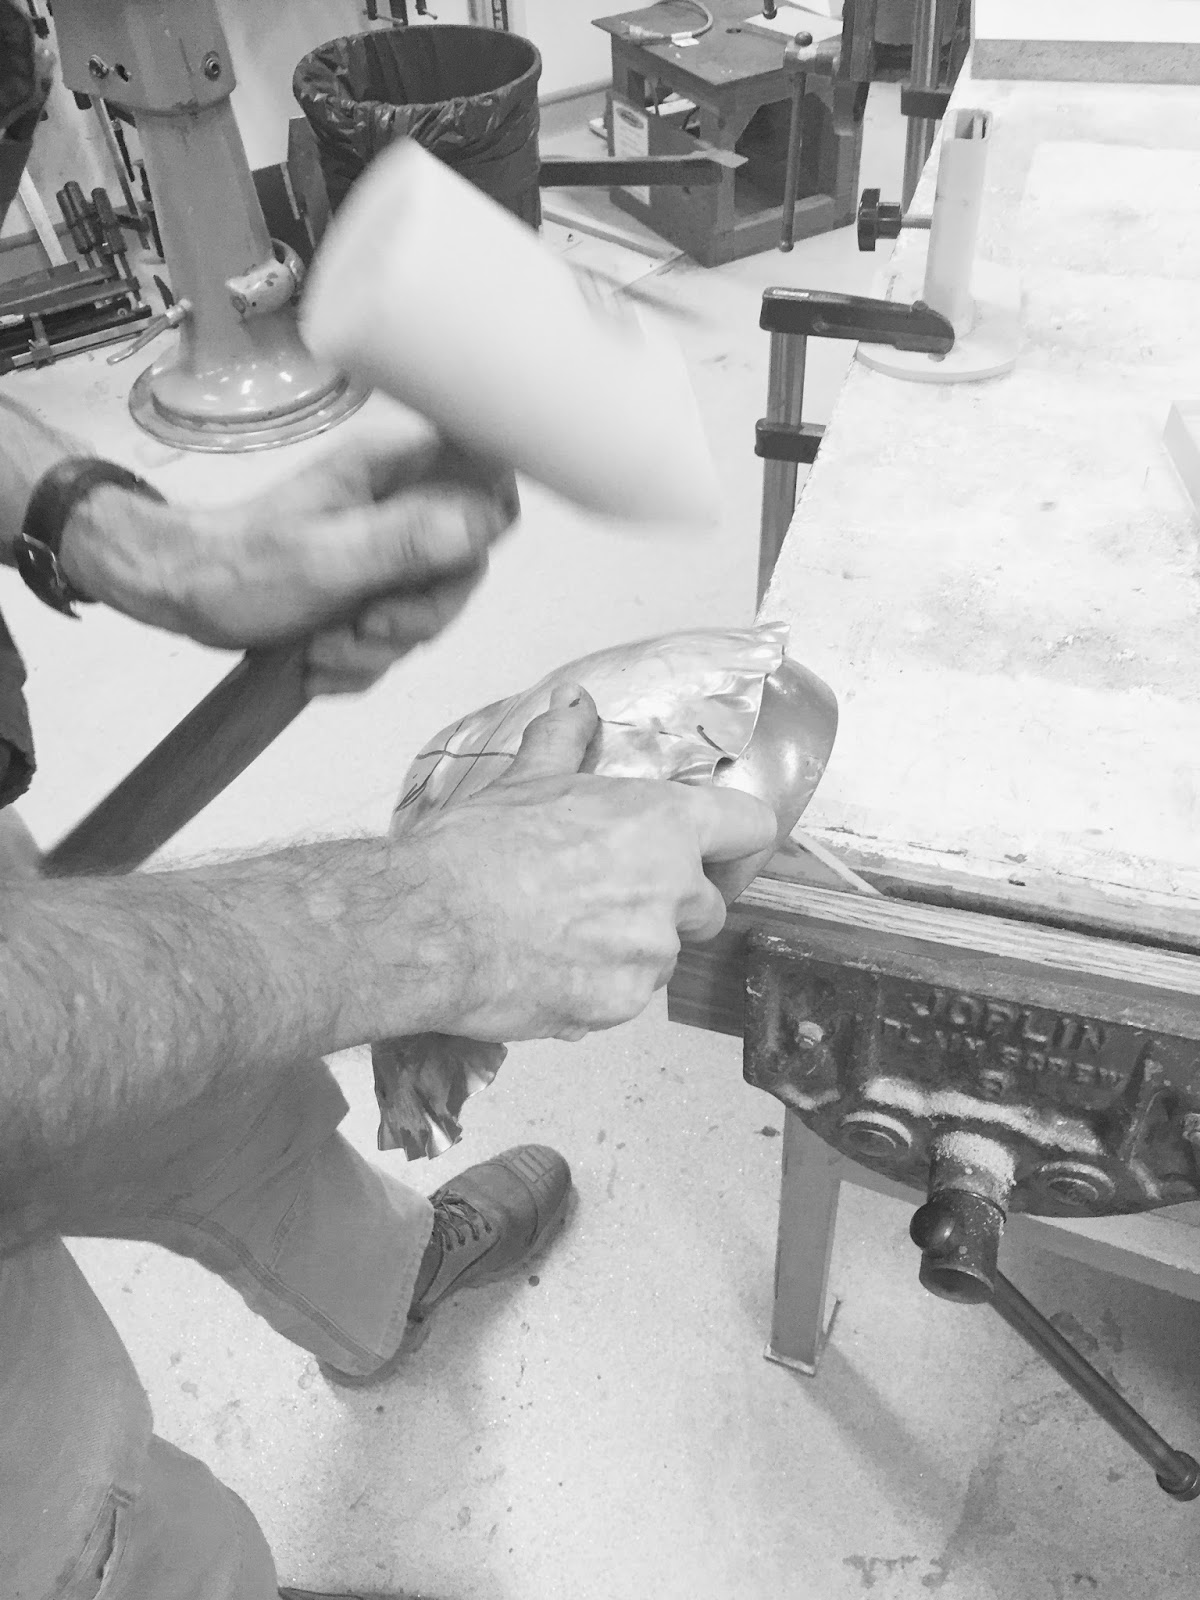
- bashing the aluminium really hard around the inner marking of circle
- bashing and pushing outward the outer plicated skin until the surface is curved and smooth

I found the surface is pretty large and stiff to work on with. It gave me a lot challenges throughout the skin-shaping process.


Process 2: Further dome-shaping


I use the hemispherical mould and the hammer with the pitched head for further shaping of my aluminium skin.

At this stage I focus on shrinking diameter of the outer skin and make it steeper until shell could fit in. I lean the interior skin against the spherical tool with slight angle difference in between. Then hammer in an spiral circle around the aluminium.


The skin started to come downward and fit the upper part of template edge.


I shape it over and over again and I even counted the time- I shrunk the whole skin for 11 times until it generally adhere to the shell. I was very frustrating in this stage cause it was repetitive, boring and took me such a long time.


The result turned out to be pretty good. Aluminium slowly have the shape I want. I just need to closing up the gap at bottom and working on brim part of the hard hat.


Process 3: detailing the skin to closely adhere to the shell


With the guide of Peter I closed gap at bottom part by marking the nonadhesive part and bash inward to the edge. I bashed left and right and then clean up the high point in the middle. The gap would be closed up by keep doing this. 

But each time I did this the other part will be weirdly change at the same time. So I bash it, squeeze it, and did a lot stupid things until I felt satisfied with it.


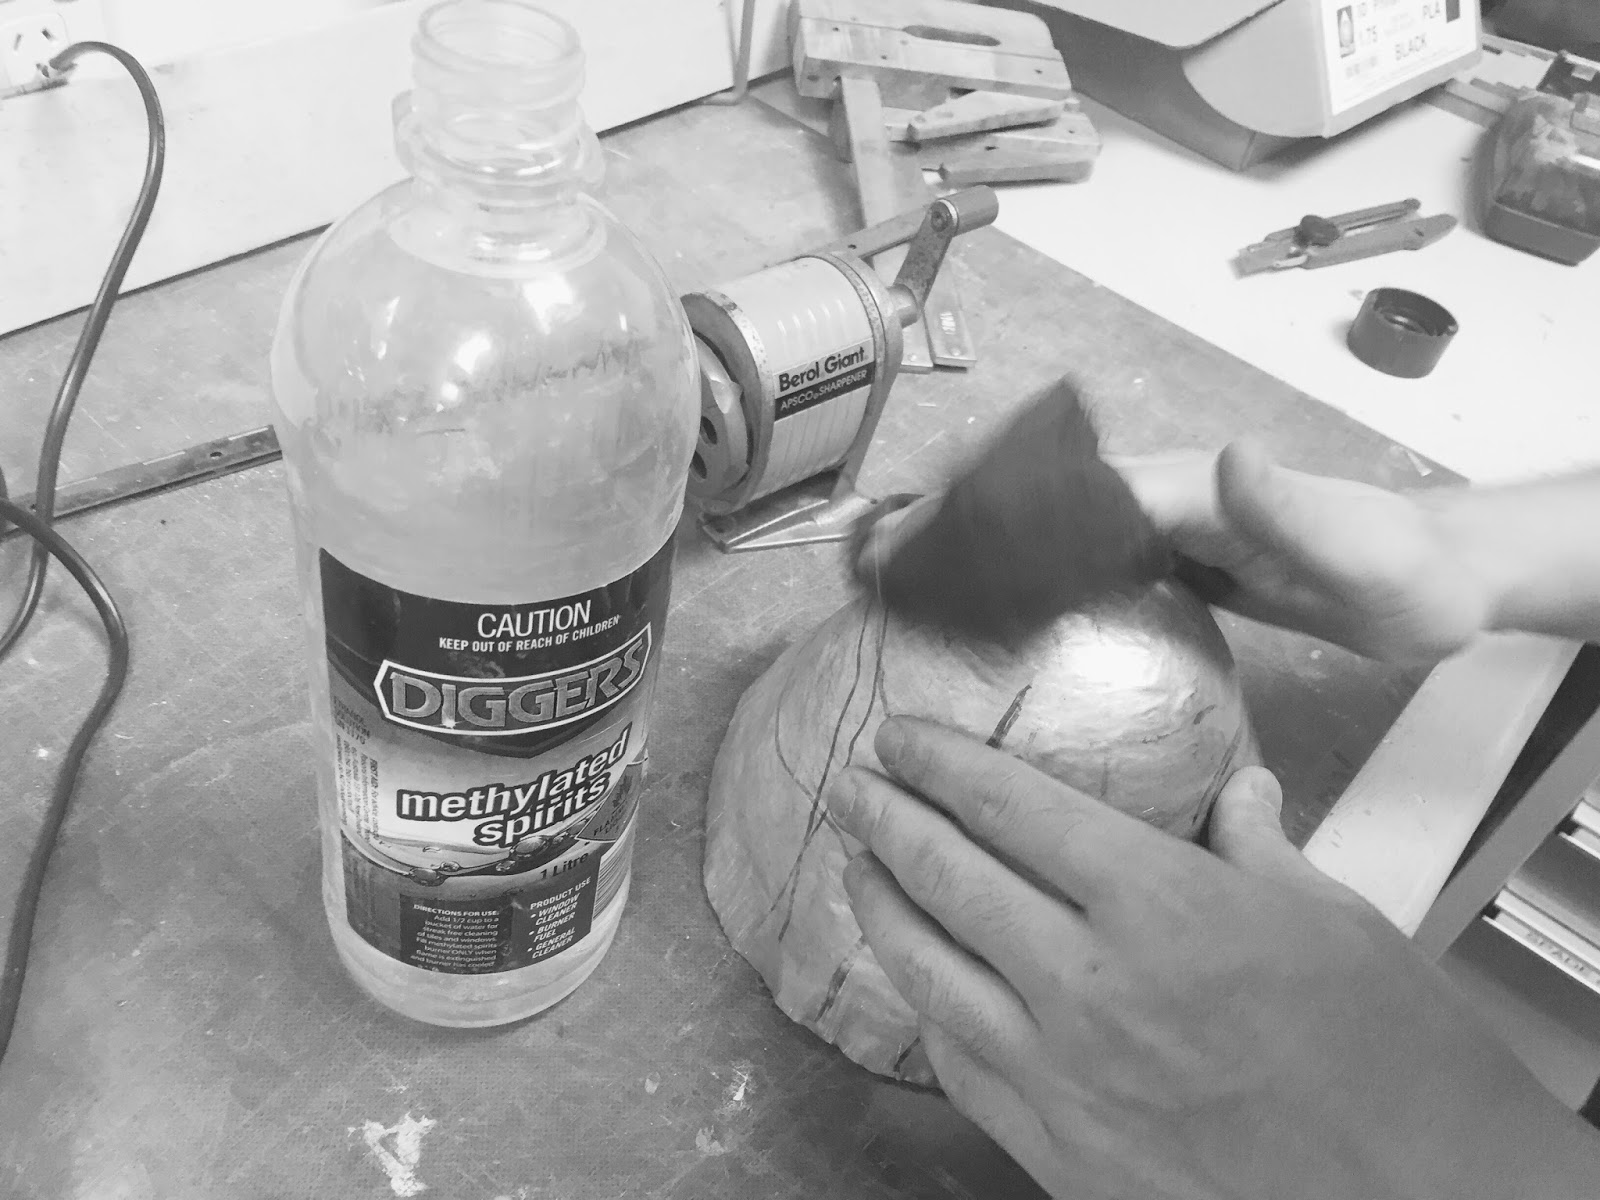
Clean the line mark using Diggers.


I made mistake by using shrinker for several times. It left me some chapped edge as I was working on the aluminium. So I decided to trim the exterior loop off.


I leave the brim part to the last step.
 I just shaped it by squeezing the aluminium inward and then use sharp head hammer to give the intersection line more definition.


After almost 4 days of working, my aluminium skin is finally complete.

BEIL0014_ assignment4_ interdisciplinary skin_shell selection

I choose the hard hat originally made by Jason who is a current construction management student. He suggested me to create a new template because he is not satisfied with his previous shell. Therefore I started all over again from 123d catch to laser cutting. 


I think the hard hat is very representative object in terms of construction management. Russell suggested that aluminium sheet may cover the whole surface of hat.