
mark and cut a circle aluminium sheet


I use the technique Russell told me to make the general bowl shape of my skin.
- bashing the aluminium really hard around the inner marking of circle
- bashing and pushing outward the outer plicated skin until the surface is curved and smooth
I found the surface is pretty large and stiff to work on with. It gave me a lot challenges throughout the skin-shaping process.
Process 2: Further dome-shaping
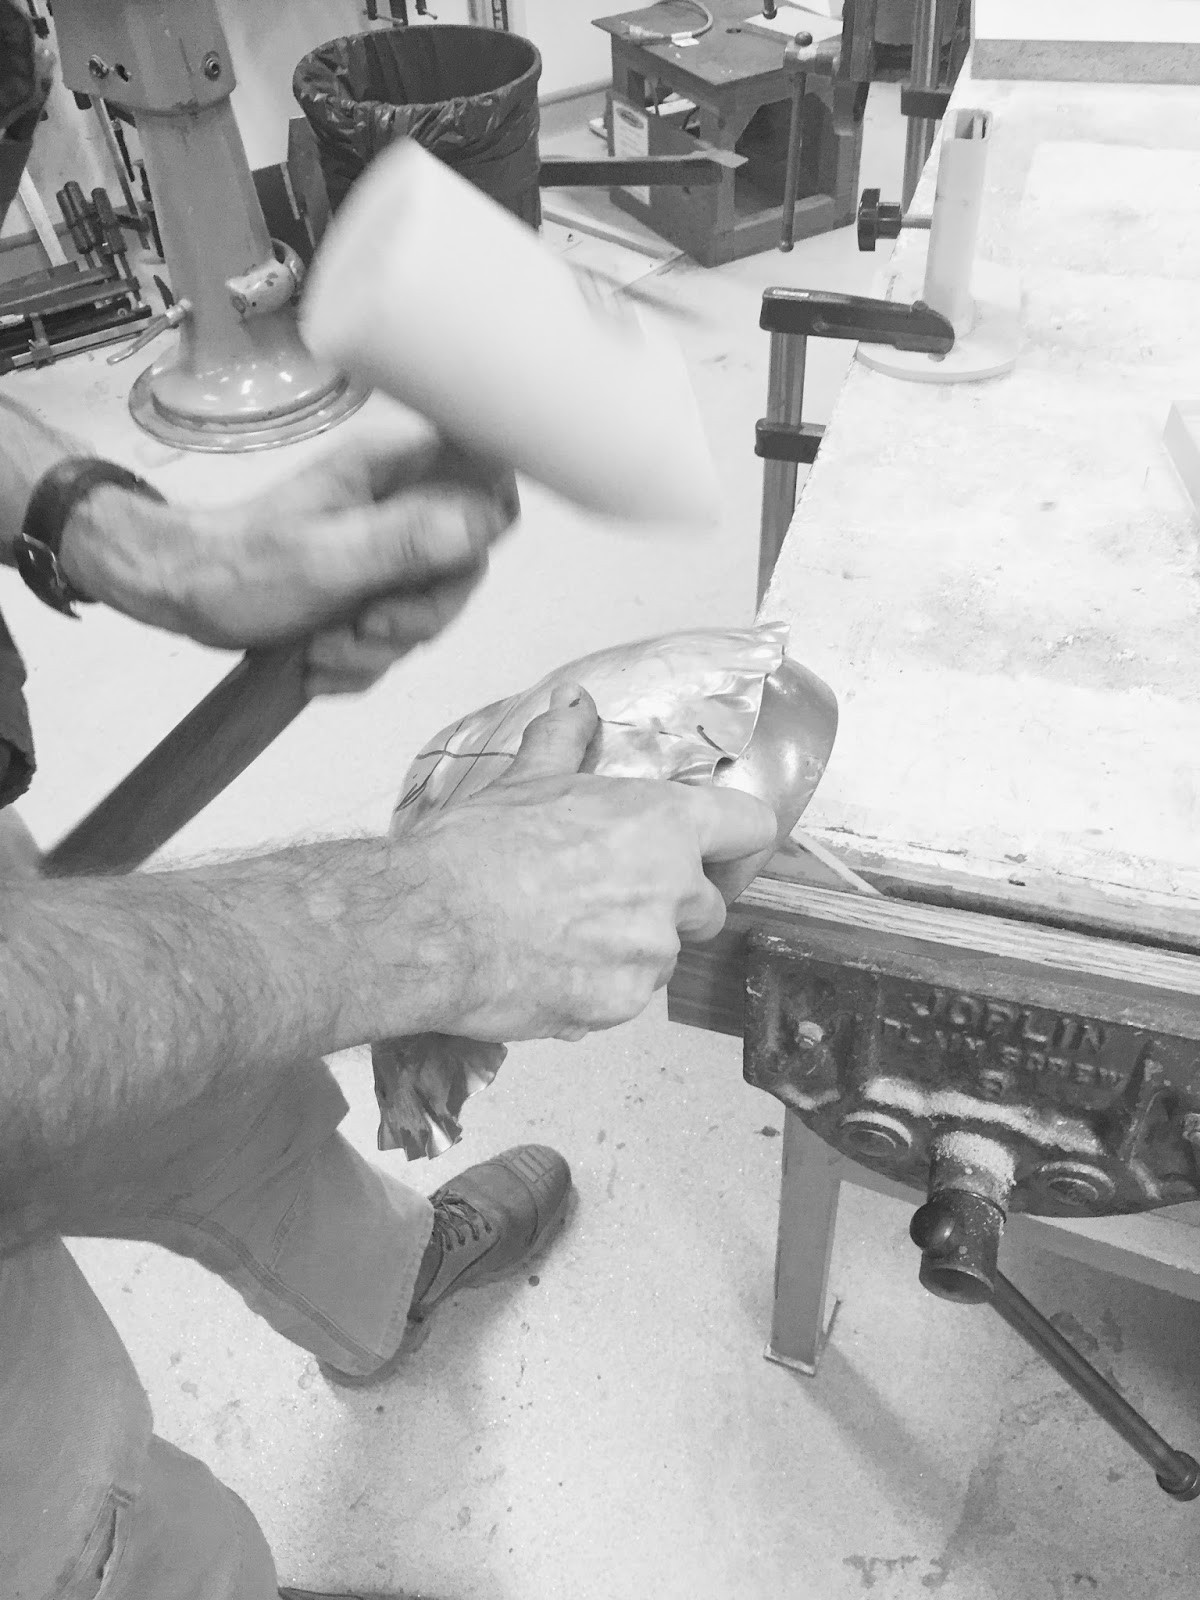
I use the hemispherical mould and the hammer with the pitched head for further shaping of my aluminium skin.
At this stage I focus on shrinking diameter of the outer skin and make it steeper until shell could fit in. I lean the interior skin against the spherical tool with slight angle difference in between. Then hammer in an spiral circle around the aluminium.


I shape it over and over again and I even counted the time- I shrunk the whole skin for 11 times until it generally adhere to the shell. I was very frustrating in this stage cause it was repetitive, boring and took me such a long time.
The result turned out to be pretty good. Aluminium slowly have the shape I want. I just need to closing up the gap at bottom and working on brim part of the hard hat.
Process 3: detailing the skin to closely adhere to the shell


With the guide of Peter I closed gap at bottom part by marking the nonadhesive part and bash inward to the edge. I bashed left and right and then clean up the high point in the middle. The gap would be closed up by keep doing this.
But each time I did this the other part will be weirdly change at the same time. So I bash it, squeeze it, and did a lot stupid things until I felt satisfied with it.
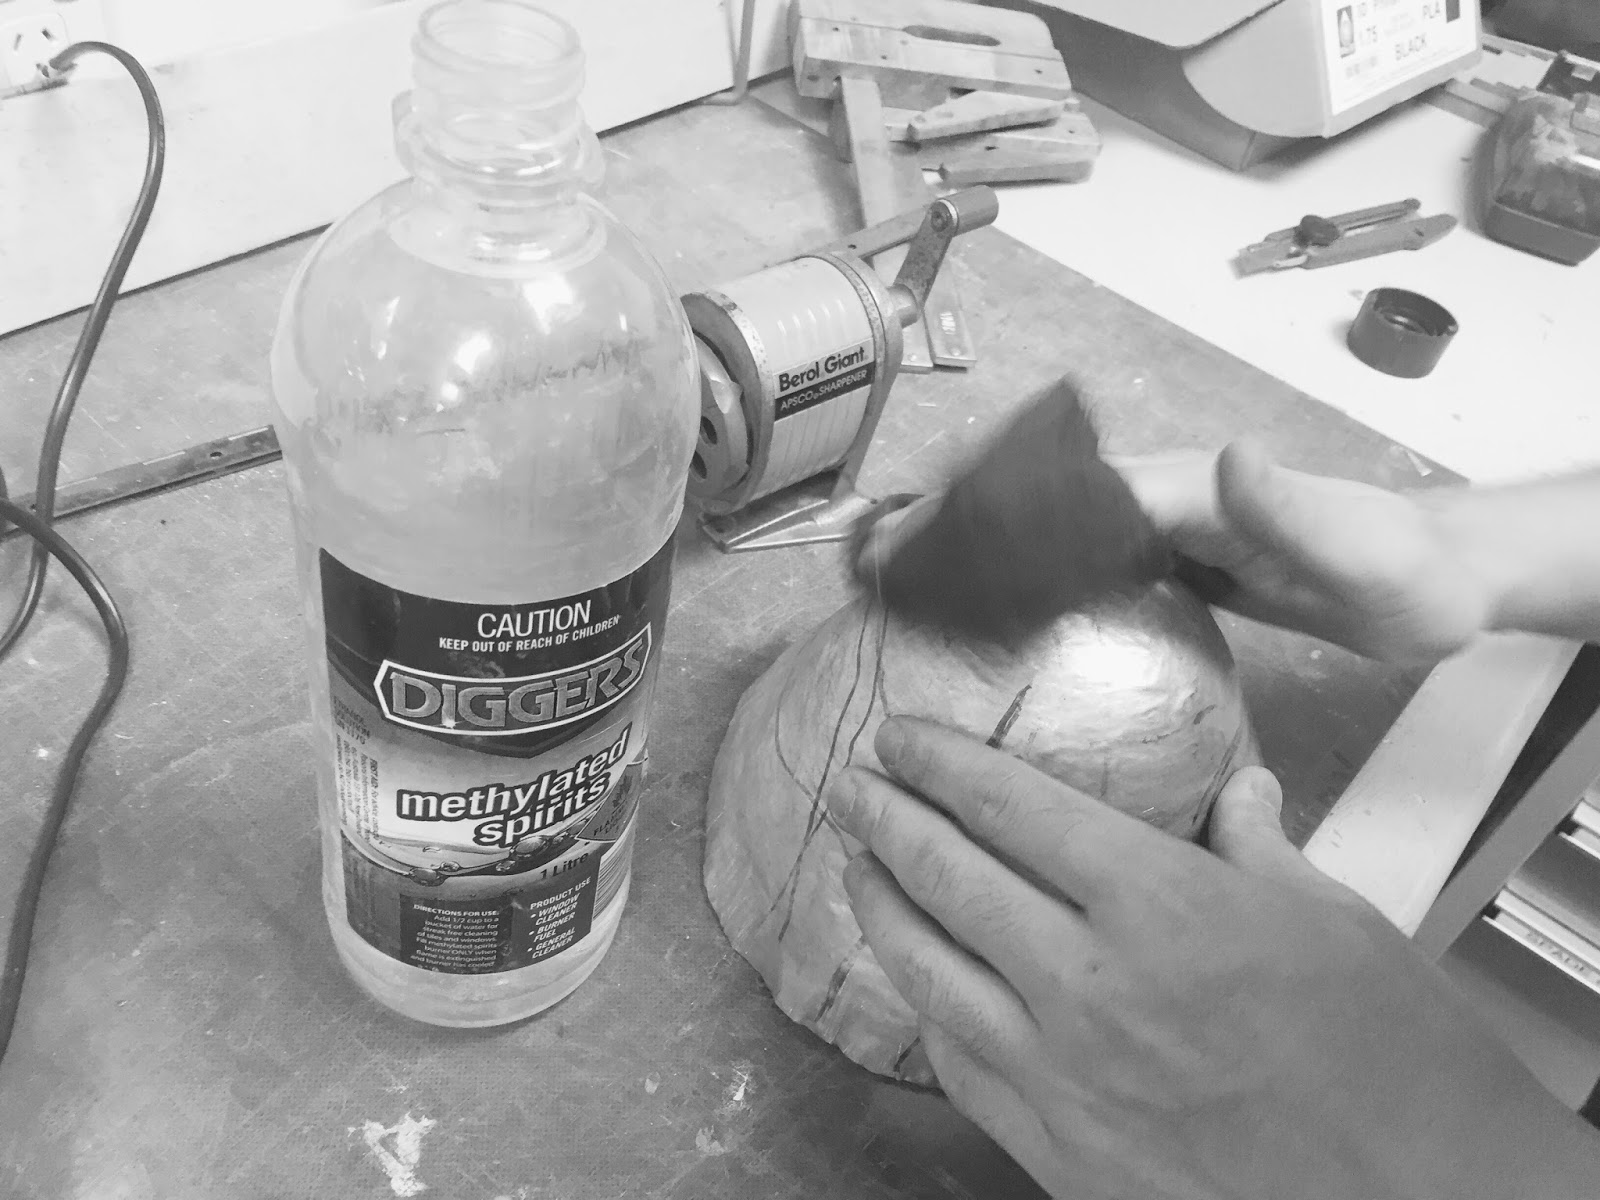
Clean the line mark using Diggers.


I leave the brim part to the last step.
I just shaped it by squeezing the aluminium inward and then use sharp head hammer to give the intersection line more definition.
After almost 4 days of working, my aluminium skin is finally complete.
No comments:
Post a Comment