Generate Digital Template from Capturing the Object
Discipline related object - camera

- photographing the object
- generate, adjust and template the digital model
- laser cut the template and assemble the pieces
I. Capture the Shape of Camera
related software: 123d catch
-OBJECT POSITION: In convenience of capture the shape of lower section, the object needs to be block up for the upward shooting.
-LIGHTING: Apart from the requirements of soft and bright light while shooting, the light environment should be consistent rather than ever-changing, which would confuse the software when analyse the model shape.
-SURROUNDING OBJECT: It is better to situate the object in the context with identical objects surrounded. Avoid reflected or single colour surface.


My Capturing Process:
I put the polaroid on a block in the design lab where the surrounding of the table is clean and identical. It was really difficult to capture the bottom shoot without blocking up the object. I shot another time after put a block at the bottom.
After a few tests of photography, I found it is also important to capture the object from all different angle in sequence.
Then, I imported the photos into 123D catch and waited until the 2D photos translate to 3D digital format online.

II. Template the Digital Model
related software: Meshmixer & 123D make
This step is to generate laser-cutting pieces from mass model to detail 2D template.
Meshmixer is used to clean up the model

- The background objects could be deleted using edit tool.
- However, the "select& delete" method is not suitable for the block adhere to the camera. So I cleaned up the clinging block using plane cut tool, which would cut out the unwanted item through a perfect section slice.
- The surface 123d catch converted to was bumpy therefore I edited the surface to be smoother.
After I finalising my 3D model, I export the stl. format file and loaded it to the 123D design.
Design the template plans in 123D Design
- Adjust the object to appropriate size. (I used 87x203x160mm for my model.)
- Define the material:
I used thickness of 3mm sheets in size of 600x300mm plywood and acrylic board. It is quite tricky but also very important to set the thickness to 3.5mm when defining he thickness of the material. Otherwise it would be very hard to assemble the pieces together.
- Decide slice distribution
After playing around with slice distribution, I decided to print both curved and radical slices. Then keep changing the number of slices in different axis, until there is no model issue showing on the right of the screen.

Curved template applied to plywood for the test of laser cutting and template assembly.

- Get plans and export them into EPS file fur further edit in Ai
III. Lasercuting and model assembly
related software: Illustrator
Get Ready to Lasercut object Slices
Before sending the template to laser-cut machine, a few settings need to be changed in Illustrator.
- double check the panel size: 600x300mm
- set line weight to 0.005mm
- revert blue and red line sections
In the exported plan, blue indicated the exterior cut lines and red indicated engraving lines. However the setting of the colour is exactly contrast to laser cut machine. So this step is incredibly important.
- ready to go for lasercutting!


Assemble the template with the guide of slice's number

The tested plywood curved join model

peeling off the protective skin for acrylic

peeling off the protective skin for acrylic
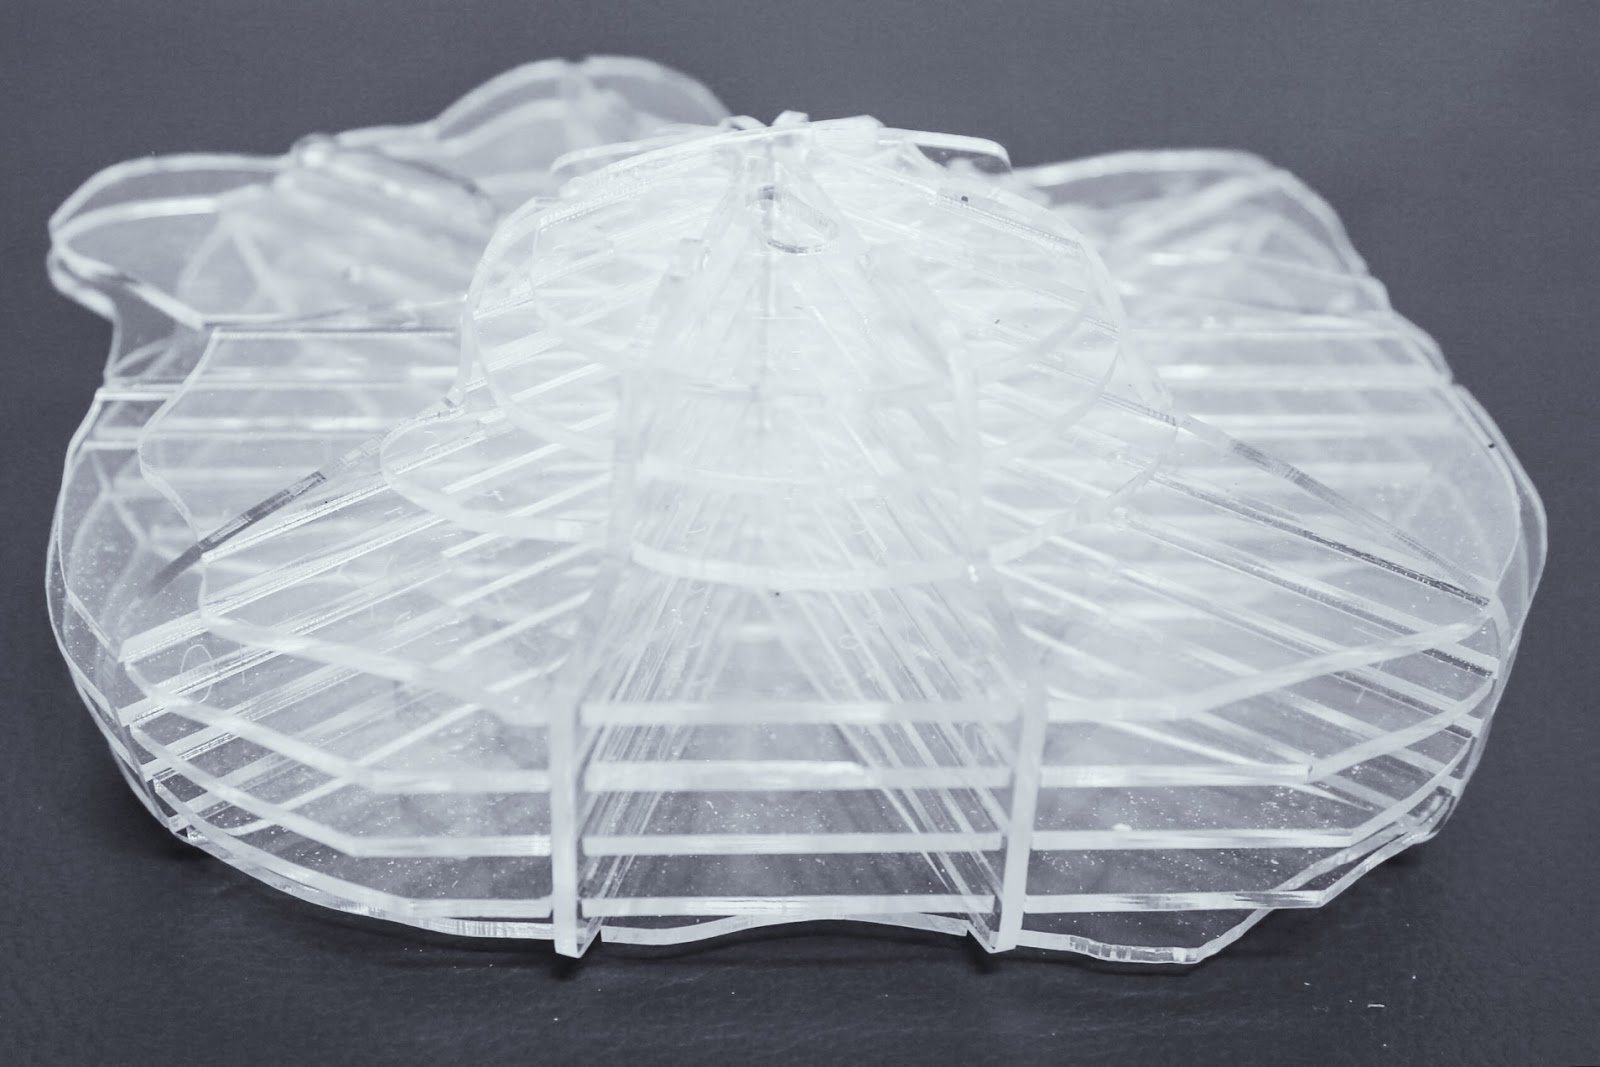
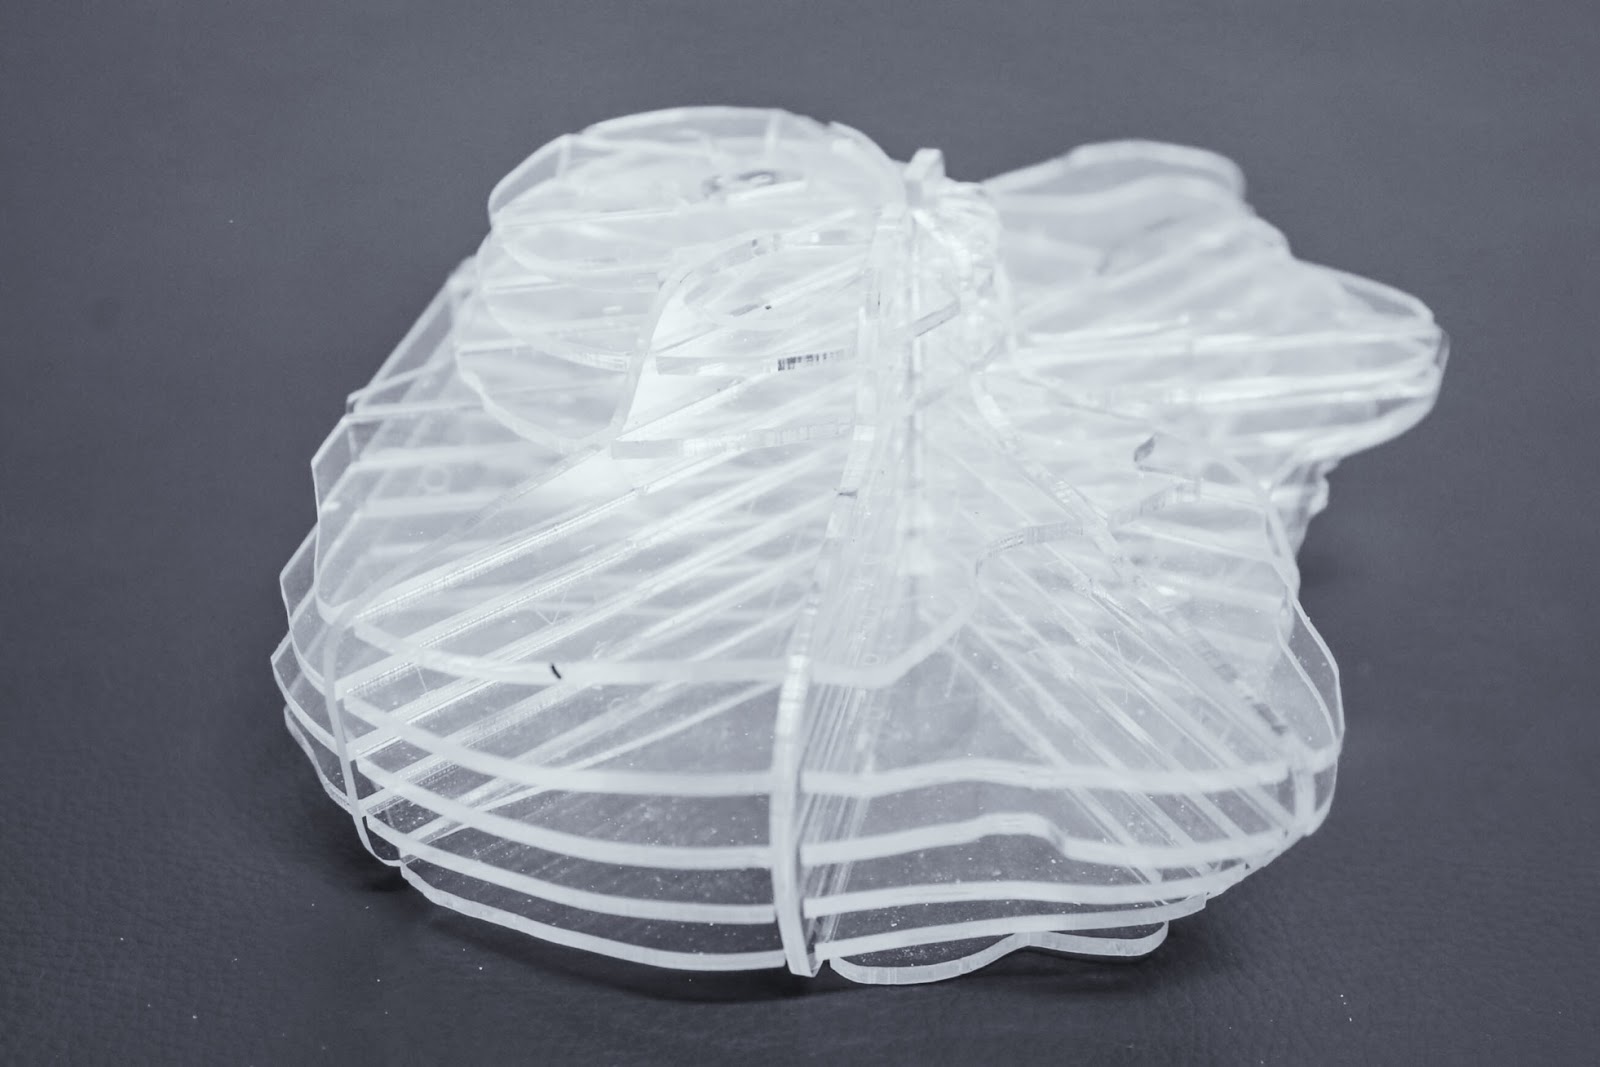
OUTCOME


No comments:
Post a Comment